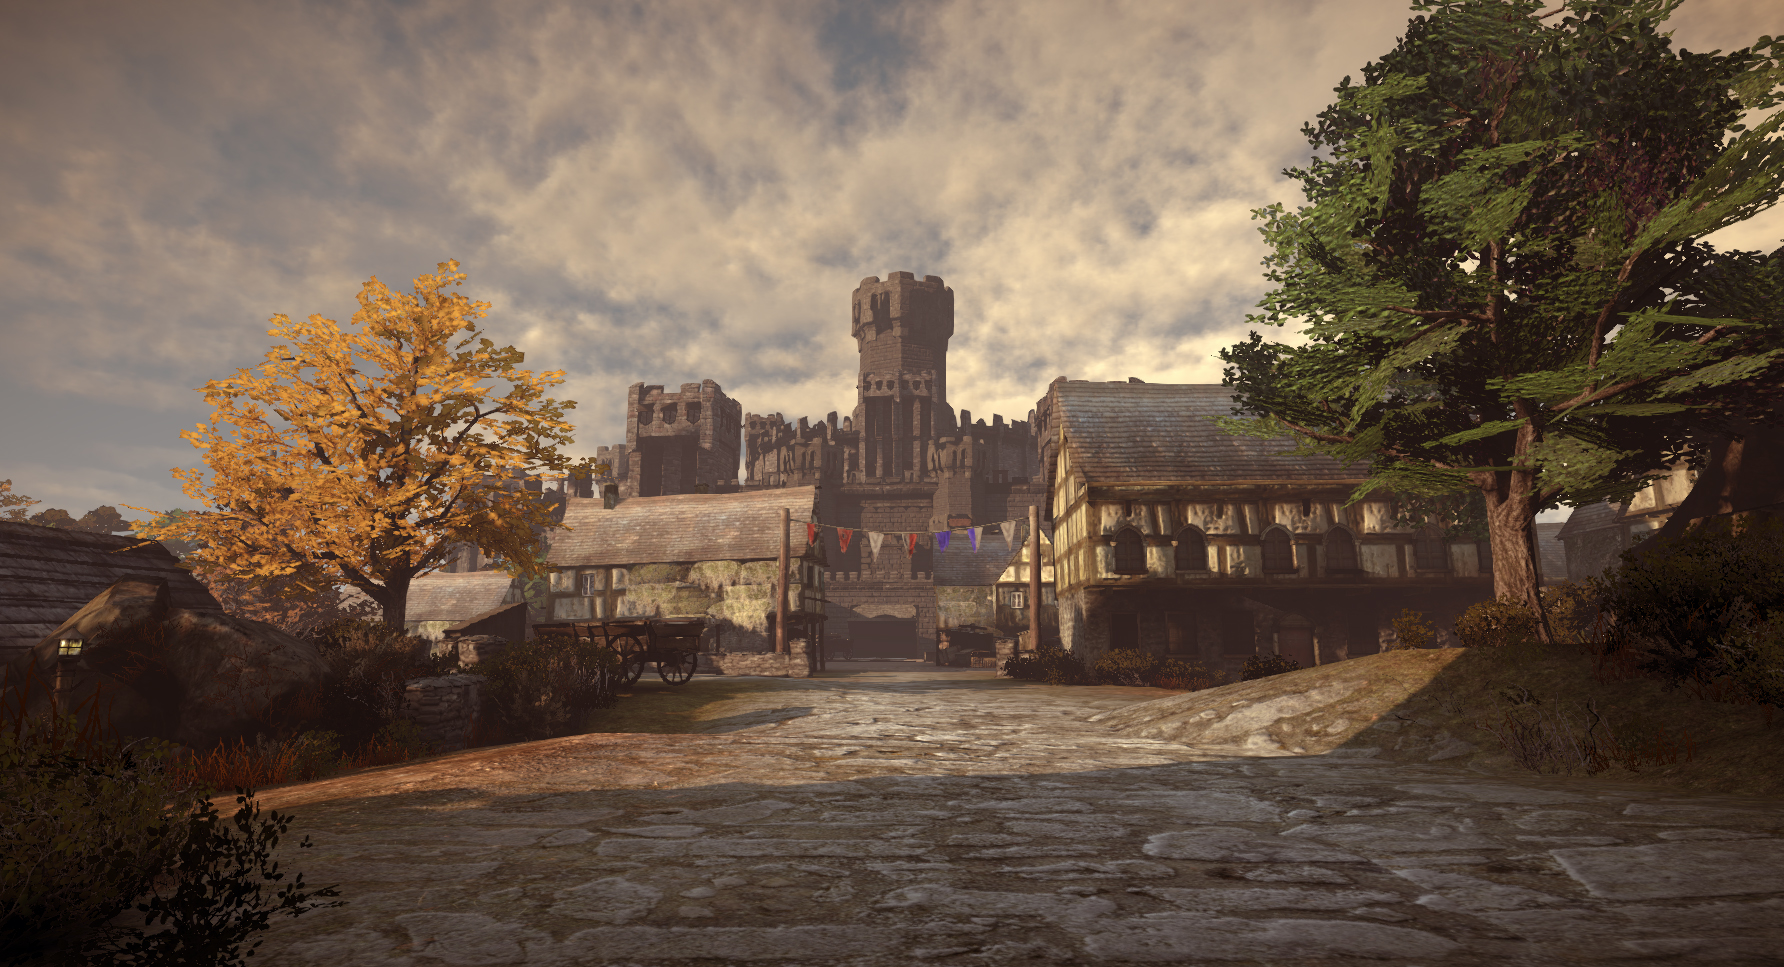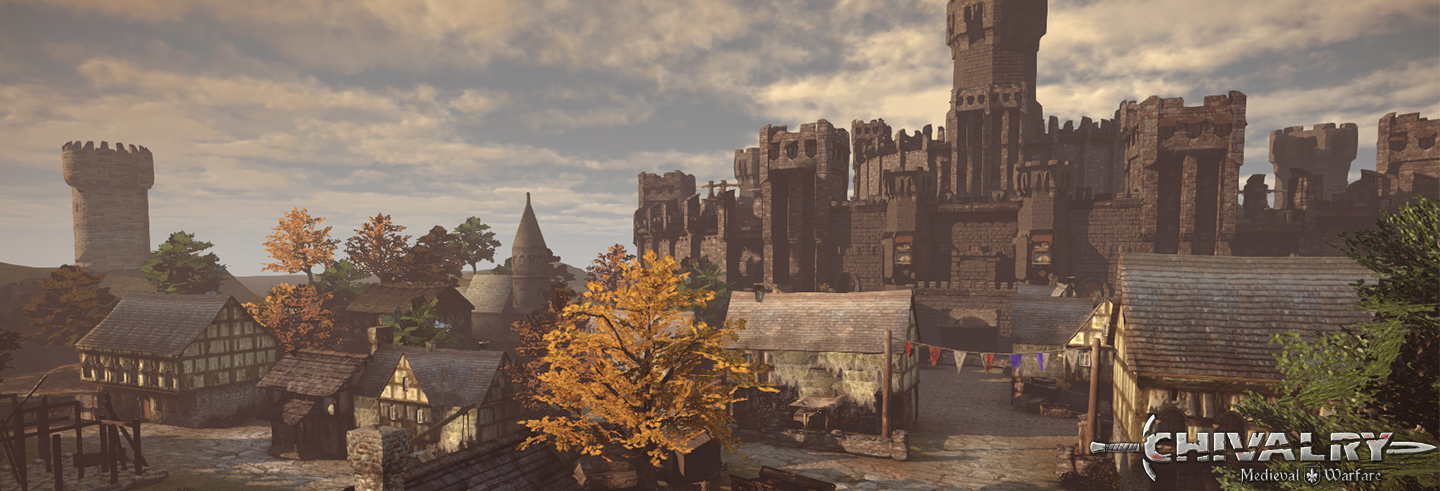
Sunwater Bay (2015)

Description
Initially I started creating this map for a Mapping Contest for Chivalry: Medieval Warfare but did not finish it in time yet as I value finishing up my projects I decided to complete it afterwards instead. In Chivalry there are endless of ways to create maps as the tools provided allow you to create everything from drawbridges to elevators and activatble traps like boulders. However, as this was my first map for the game I decided to go for simplicity to make sure that I could finish it. This map is built for the Team Objective game mode where the attacking team is supposed to complete certain objectives until they reach the last one where the top player on the defending team respawns as ‘The King’, if the King is killed the attacking team is victorious. All the while a game timer is ticking down and if it times out the defending team is victorious. The attacking team also gets bonus time for the game timer for each completed objective.
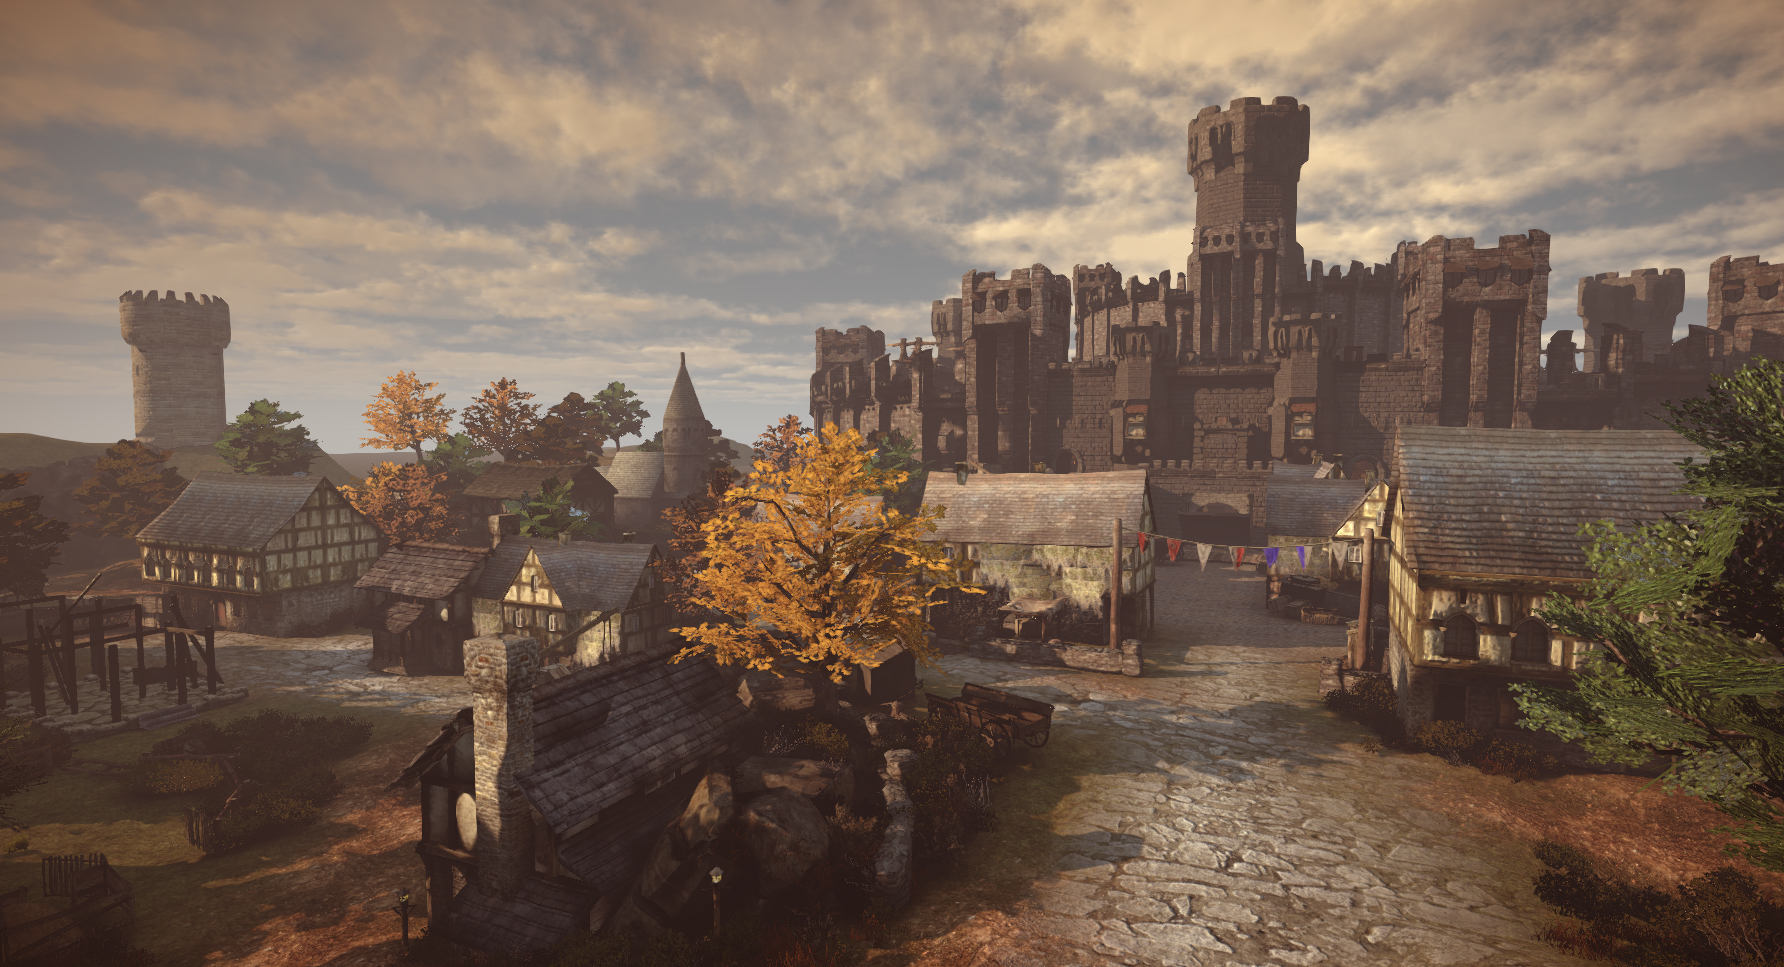
Top-down
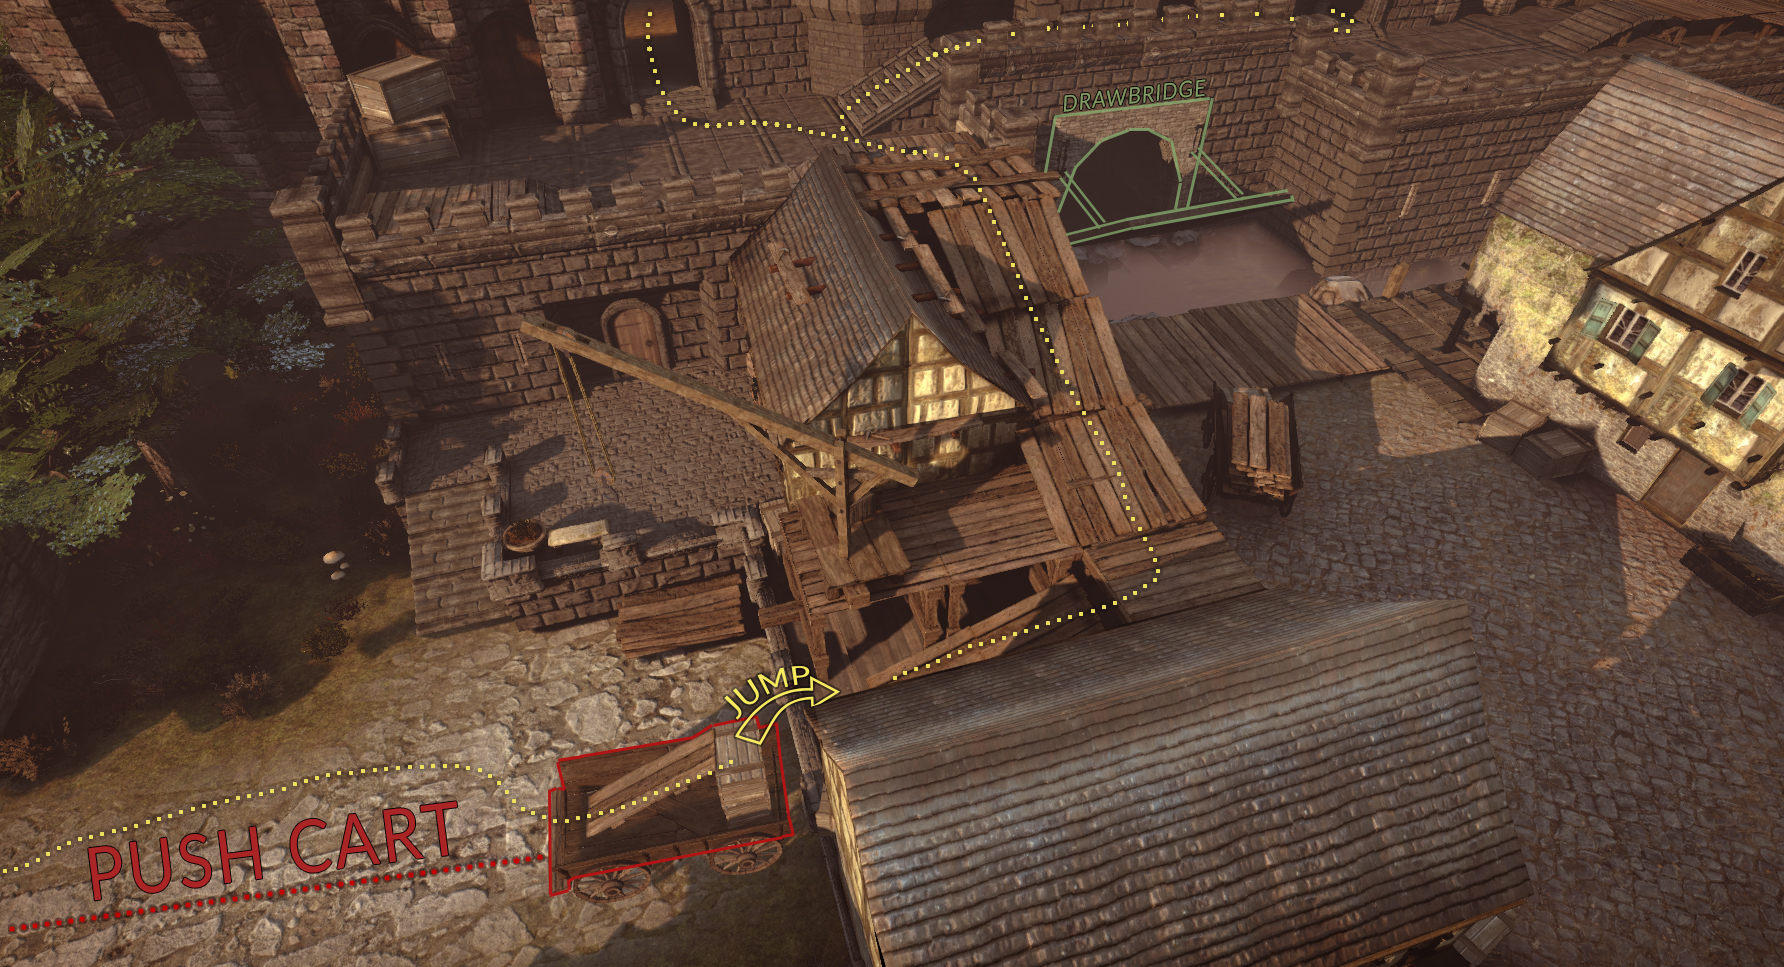
Objective 1: Pushing Carts
In the first objective the attacking team is supposed to push carts with ramps to certain positions in order to get leverage and have attackers climb the walls of the castle. Usually in Team Objective maps there are only one cart at the time but in my map there are two of them with two separate spawns for the attackers. I made it this way to create a battlefield with multiple frontlines. The maps I like the most, pretty much no matter the multiplayer game, are maps that have multiple flanking routes so that it’s not solely focused on chokepoints. In order to prevent the carts from moving the defending team has to be well cordinated and communicate when and where reinforcements are needed. The spawns are also posistioned at such a distance that if the defending team is charging in one by one they are most likely to be overwhelmed by the attacking forces as their spawns are closer by. That said, if the defending team is not communicating, one cart will most probably be sneak-pushed by the attacking team. Once either of the carts are in place the second objective starts, but to fully utilize the spawnpoints the attacking team needs to push both carts to their respective destinations. The cart with its destiation set to the construction site instantly unlocks access to the ramparts while the other cart with its destination close to the harbor has an extra event once it reaches it’s destination.
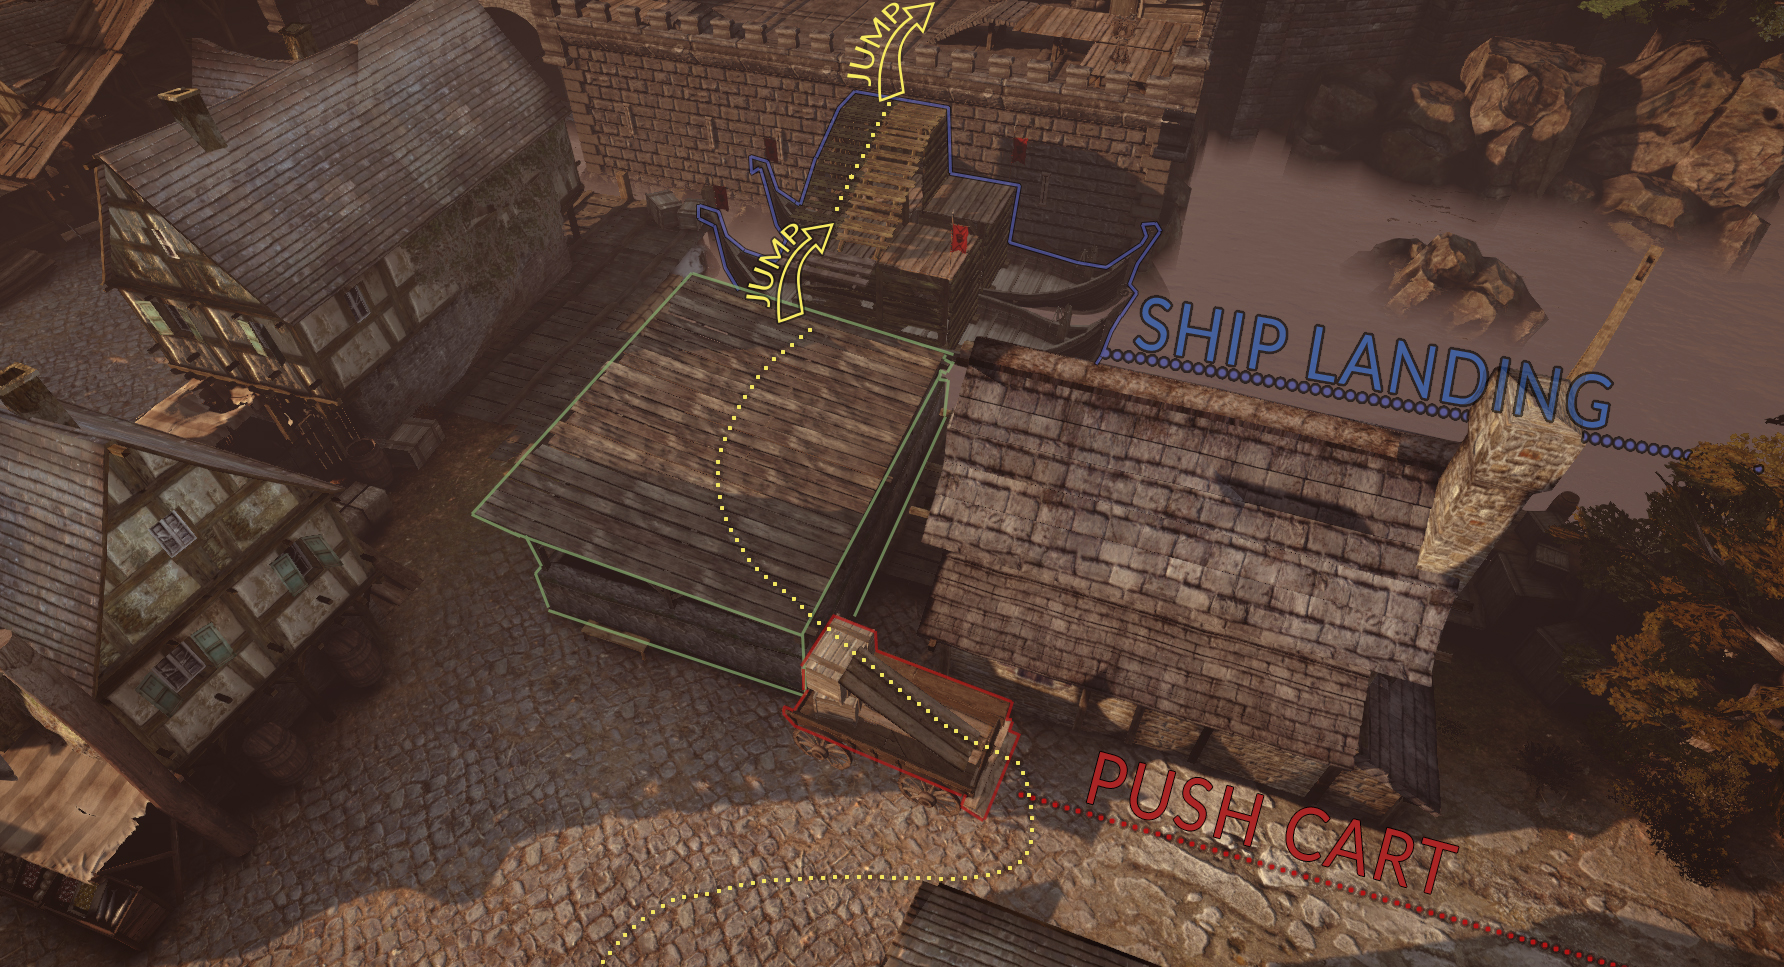
Push Cart 1 Destination & Drawbridge
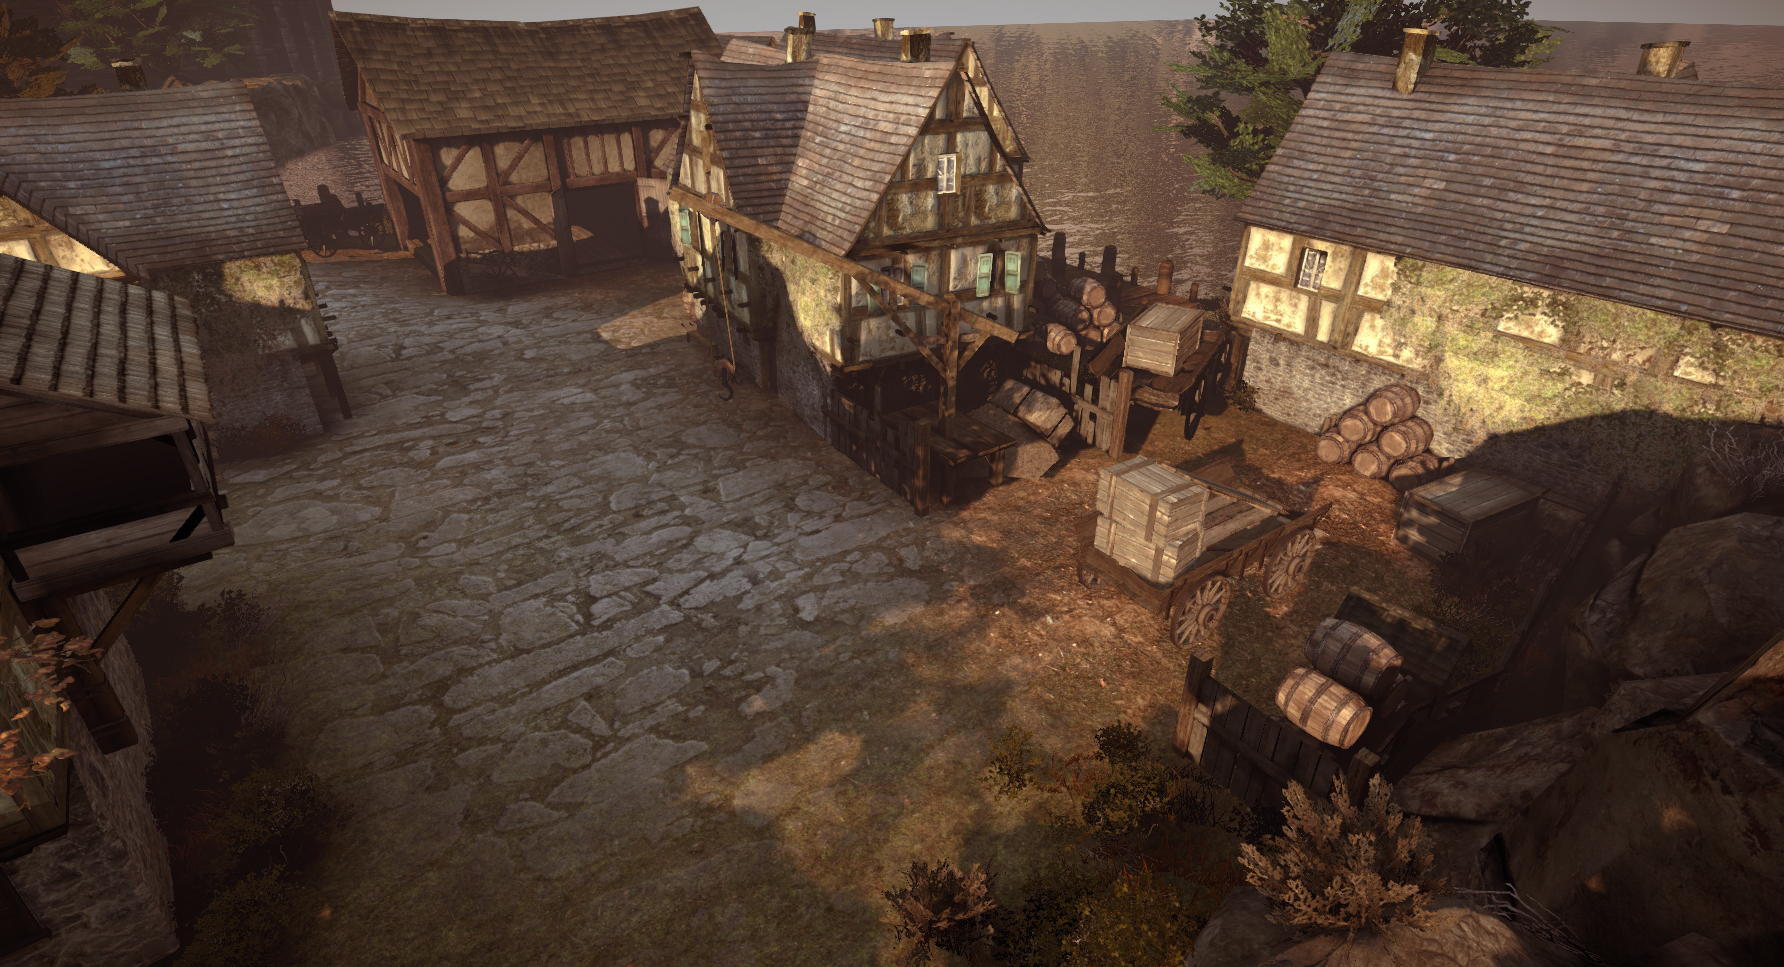
Push Cart 2 Destination & Ship Landing
The Bridge of Xerxes
At the time developing this level 300: Rise of an Empire were running at the movies and it reminded me of one of the coolest strategies of war namely the bridge of Xerxes. I thought a lot about it and as I couldn’t do the bridge in its full scale glory I decided to do a mini version of it, I like to stuff my maps with as much as historical references liek this. It is undoubdetly a very bold and sneaky maneuver and I wanted to capture that.
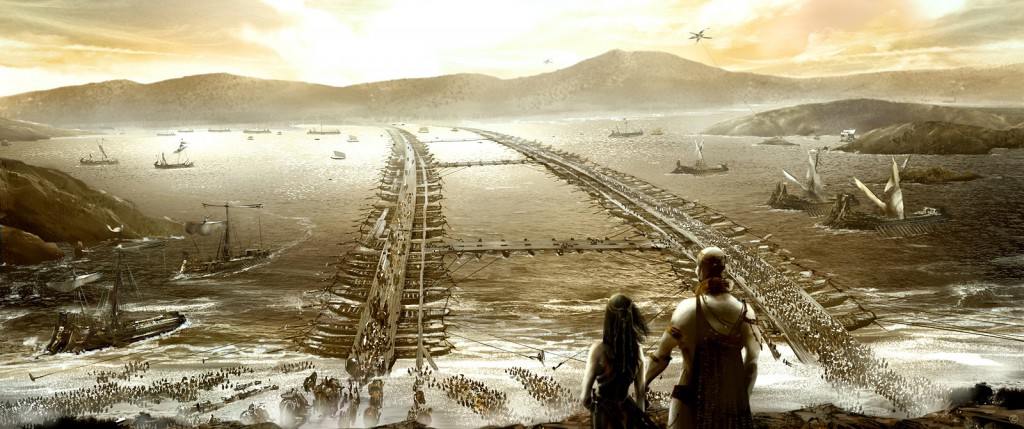
This picture depicting the Bridge of Xerxes is the work of Ulrich Zeidler who did some of the concept art for the movie 300: Rise of an Empire, check out his other work here.
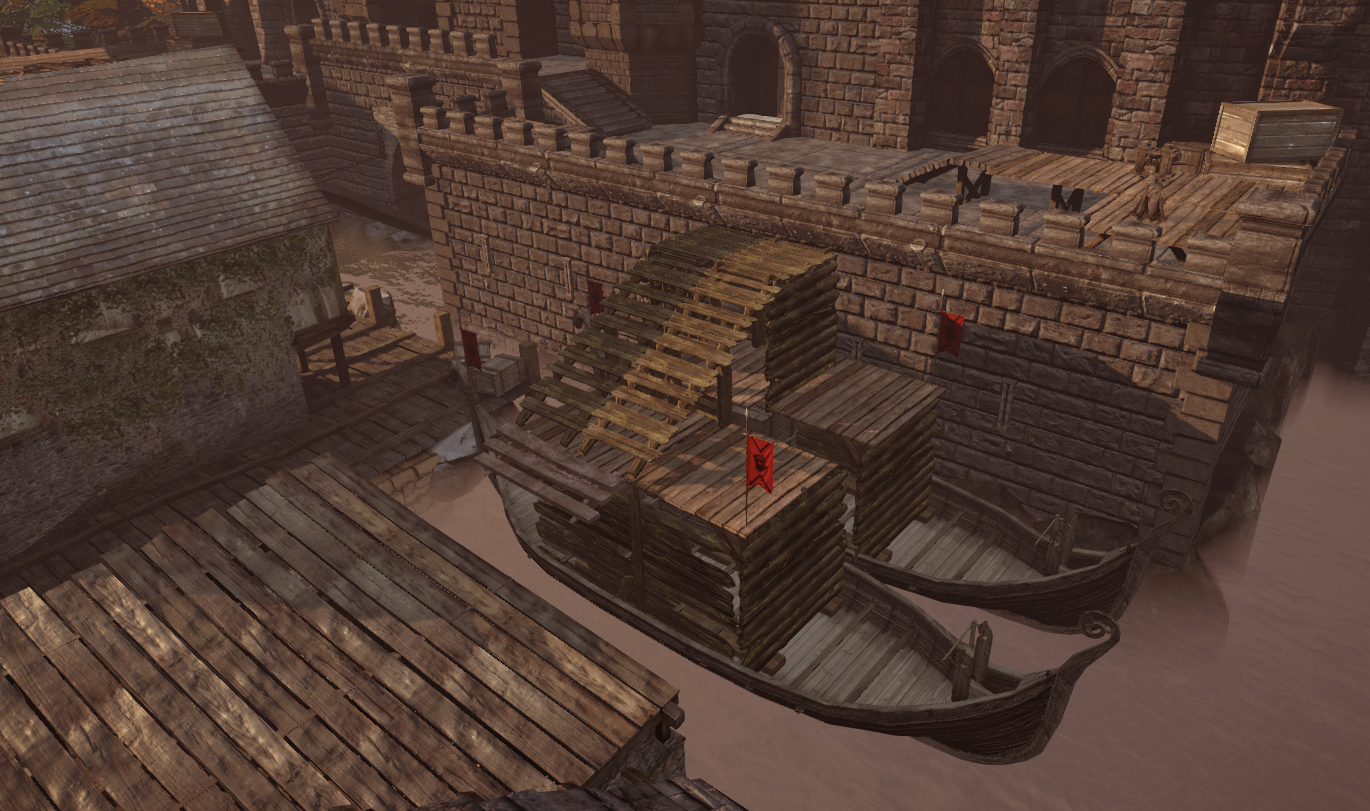
The Make-shift Ship Bridge
Once the cart closest to the harbor reaches its destination the make-shift ship bridge comes gliding in to land by the ramparts, creating a connection from the stables roof and the ramparts. The only way I could achive this was to build together two make-shift loooking ships paired together with beams in order to form a ramp. There is no way a ship could look like this in the real world given that there’s no way for it to actually move, no sails nor paddles. However, I thought it added something new and fun for the map and the playtests gave positive feedback so I stuck with it.
Objective 1 Spawn Points:
Initially the spawn points for the attacking team are positioned close to the push carts on two elevated platforms with a one-way exits down a ledge to ensure that the defending team can’t spawn kill the attackers. The defenders on the other hand have their spawn points quite far away from the starting location of the push carts which results in game matches starting with the attacking team getting a bit of head start to push the carts before the defenders are able to get there. The longer the carts are pushed towards their destinations, the closer they get to the defending team’s spawn points and respectively longer away from the attacking ‘teams. This means that, the closer the carts are to the ramparts, the easier they are to defend, that said; the last 20% of the distance to push the carts are a lot harder for the attacking team.
In order to get the final push the attacking team needs to do a cordinated strike at one point or alternatively have the main force focusing on one of the carts while a smaller force is tries to sneak-push the other. Interestingly, this forces the defending team to move around either down on the battlefield or on the castle ramparts which was something I really wanted – having sniper-positions that allows players to be stationary are not always that interesting.

(Above) The two spawn areas from which the attacking team randomly alternates in Objective 1.
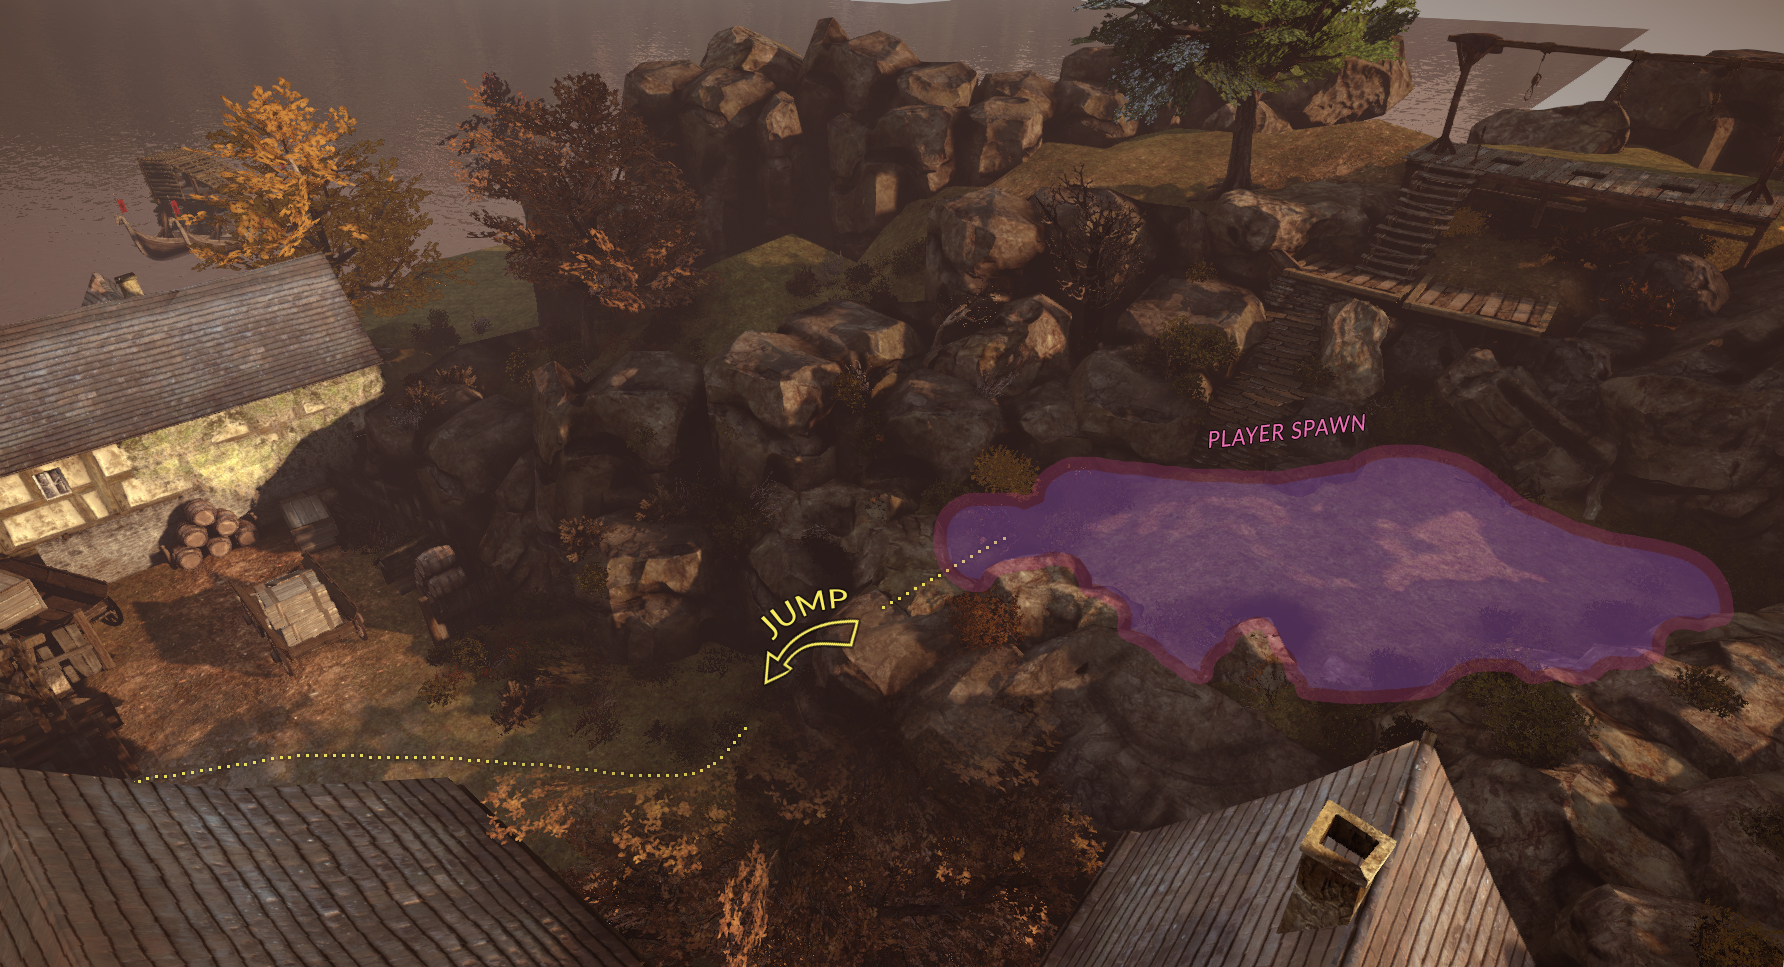
(Above) The spawn area from which the defending team uses in Objective 1.
The Ballista
In early playtesting I noticed there was a problem with the push cart routed along the harbor; more than once the attacking team got the upperhand early on and snowballed their way to the cart’s destination by the Stables in one go and in some cases at the first try. Because of this I decided to place a ballista on the castle walls, I also opened up the layout so that the routes for the carts are in view from the castle walls at least in certain angles. In order not to make the ballista too strong I placed it on a platform that leaves the pilotting player vulnerable to attacking archers. By doing this and dropping the movement speed of the carts by ~15% the snowball tendency stopped appearing almost entirely.
Objective 2: Lowering the Drawbridge
When either of the carts are in place the attacking team needs to scale the castle walls and push through the ramparts defenses into the castle. In a room below there is a valve wheel that controls the drawbridge, if the attacking team reaches this room and controls it uncontested the bridge will slowly drop down. If the attacking team managed to drop the drawbridge all the way down the objective is cleared. To give the defending team an access advantage in Objective 1 I lowered the drawbridge so that it can be used as a one-way exit from the castle to quickly get out and into the fray.
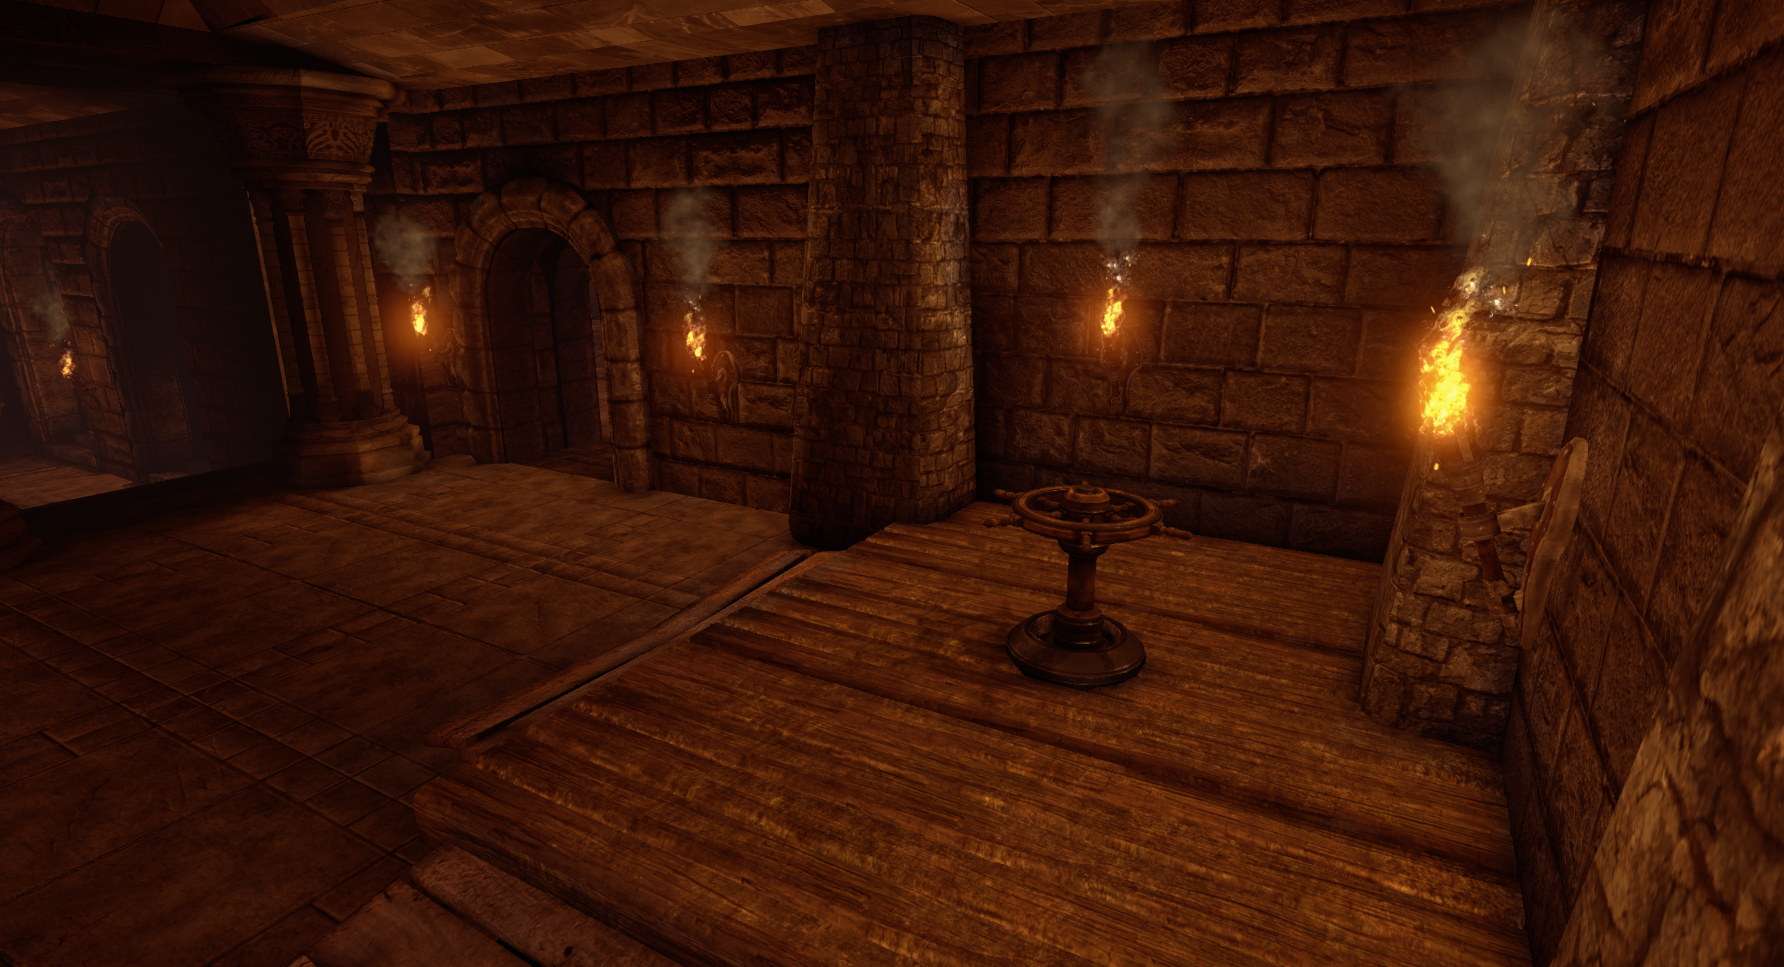
The drawbridge control room.
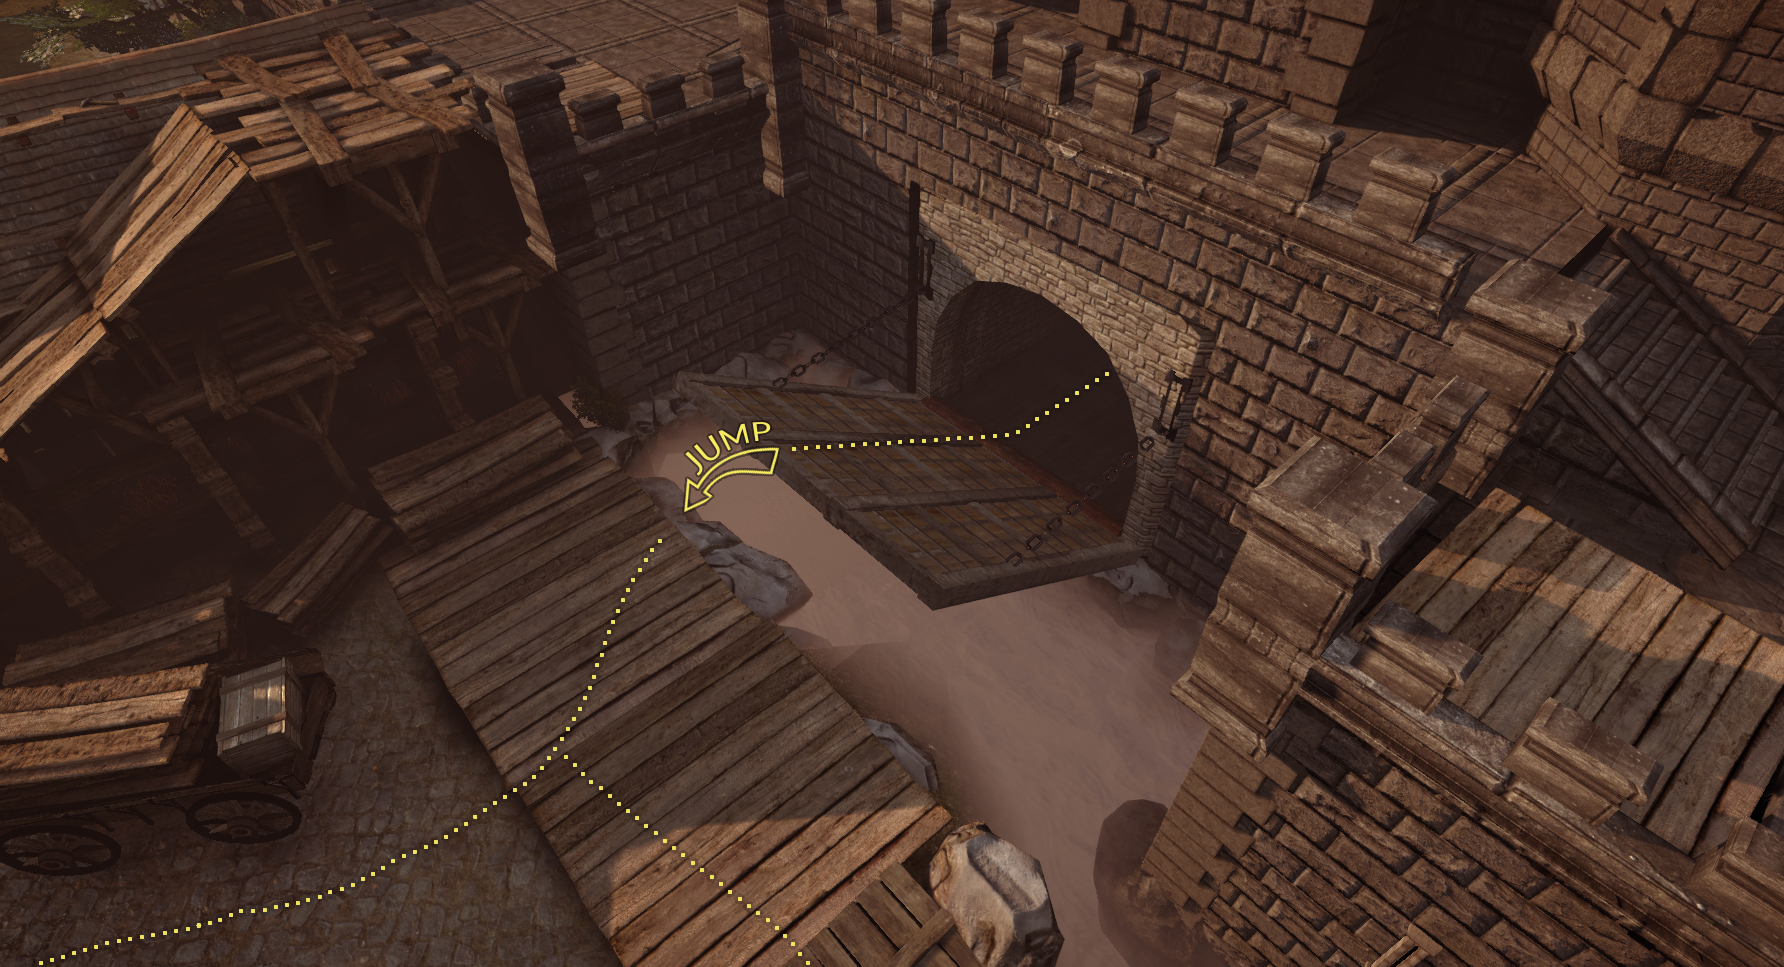
The drawbridge before being lowered. Used as a shortcut for the defending team.
Objective 2 Spawn Points:
Secondary spawn positions are enabled once the first objective is cleared. On the harbor side the attacking team gets a spawn in a barn by the pier and another one in a barn nearby the church at the other side of the map. While the attacking team have their spawn points forwarded the defending team’s spawn point are retracted and split up in two different places, one in a room with a balcony connected to a courtyard and another one positioned in the ramparts two floors above the drawbridge control room.
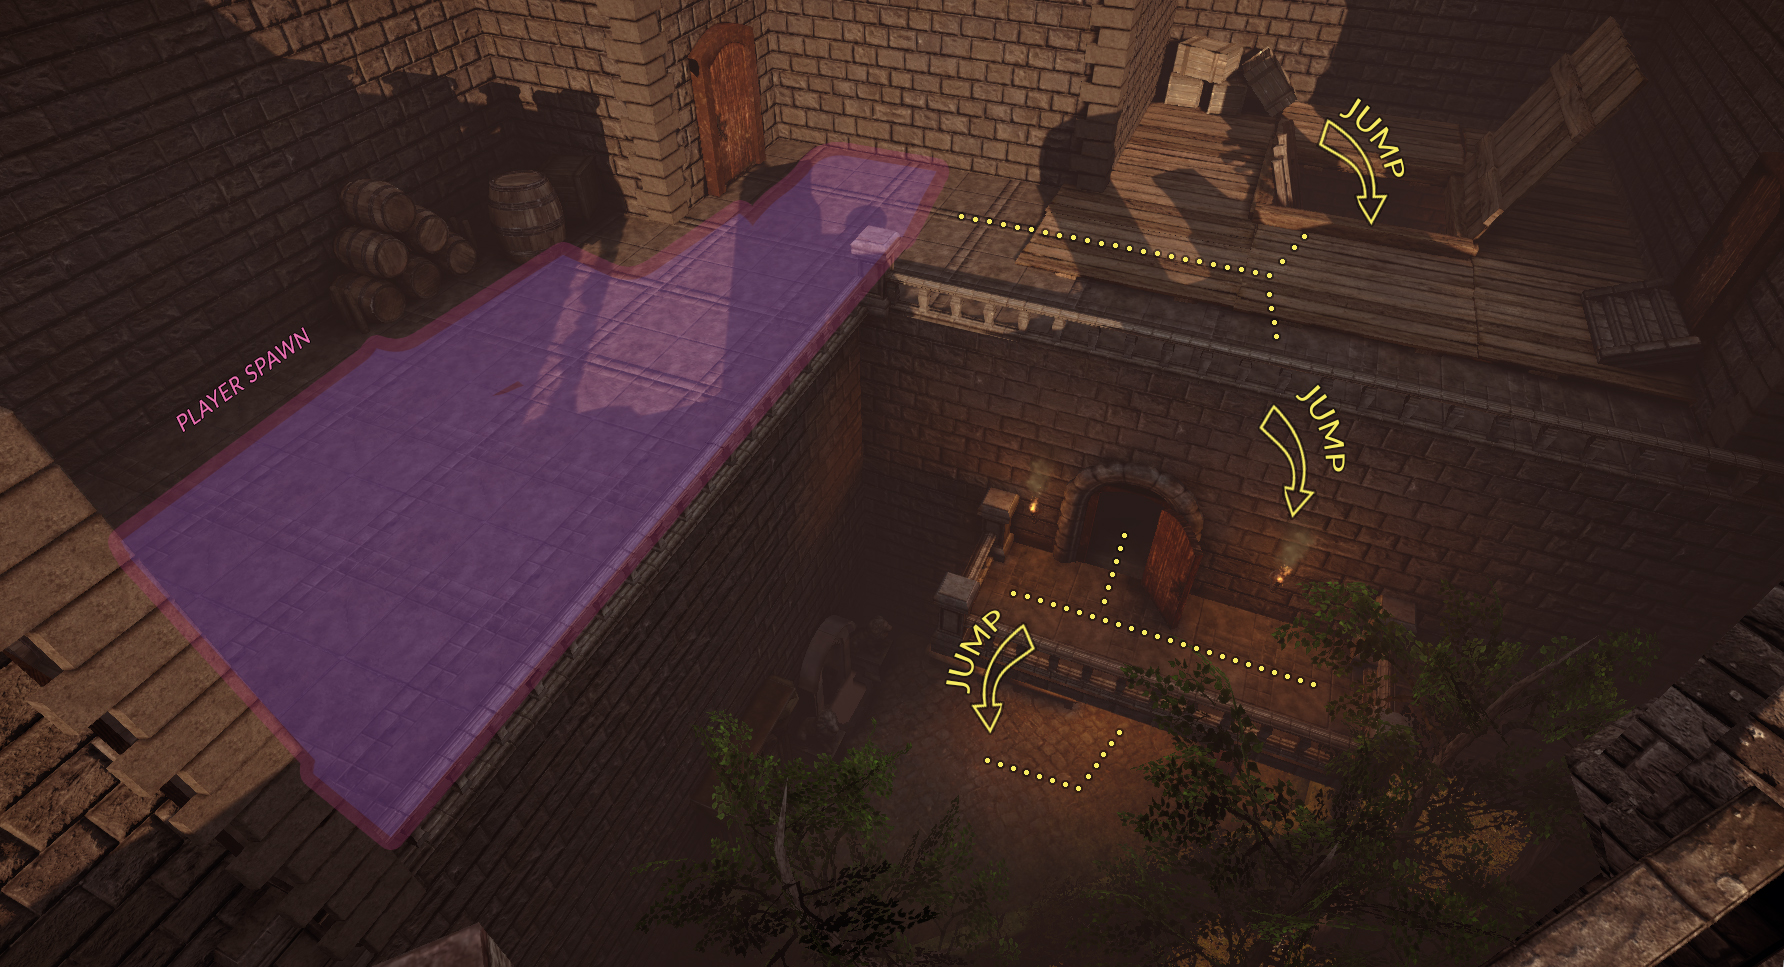
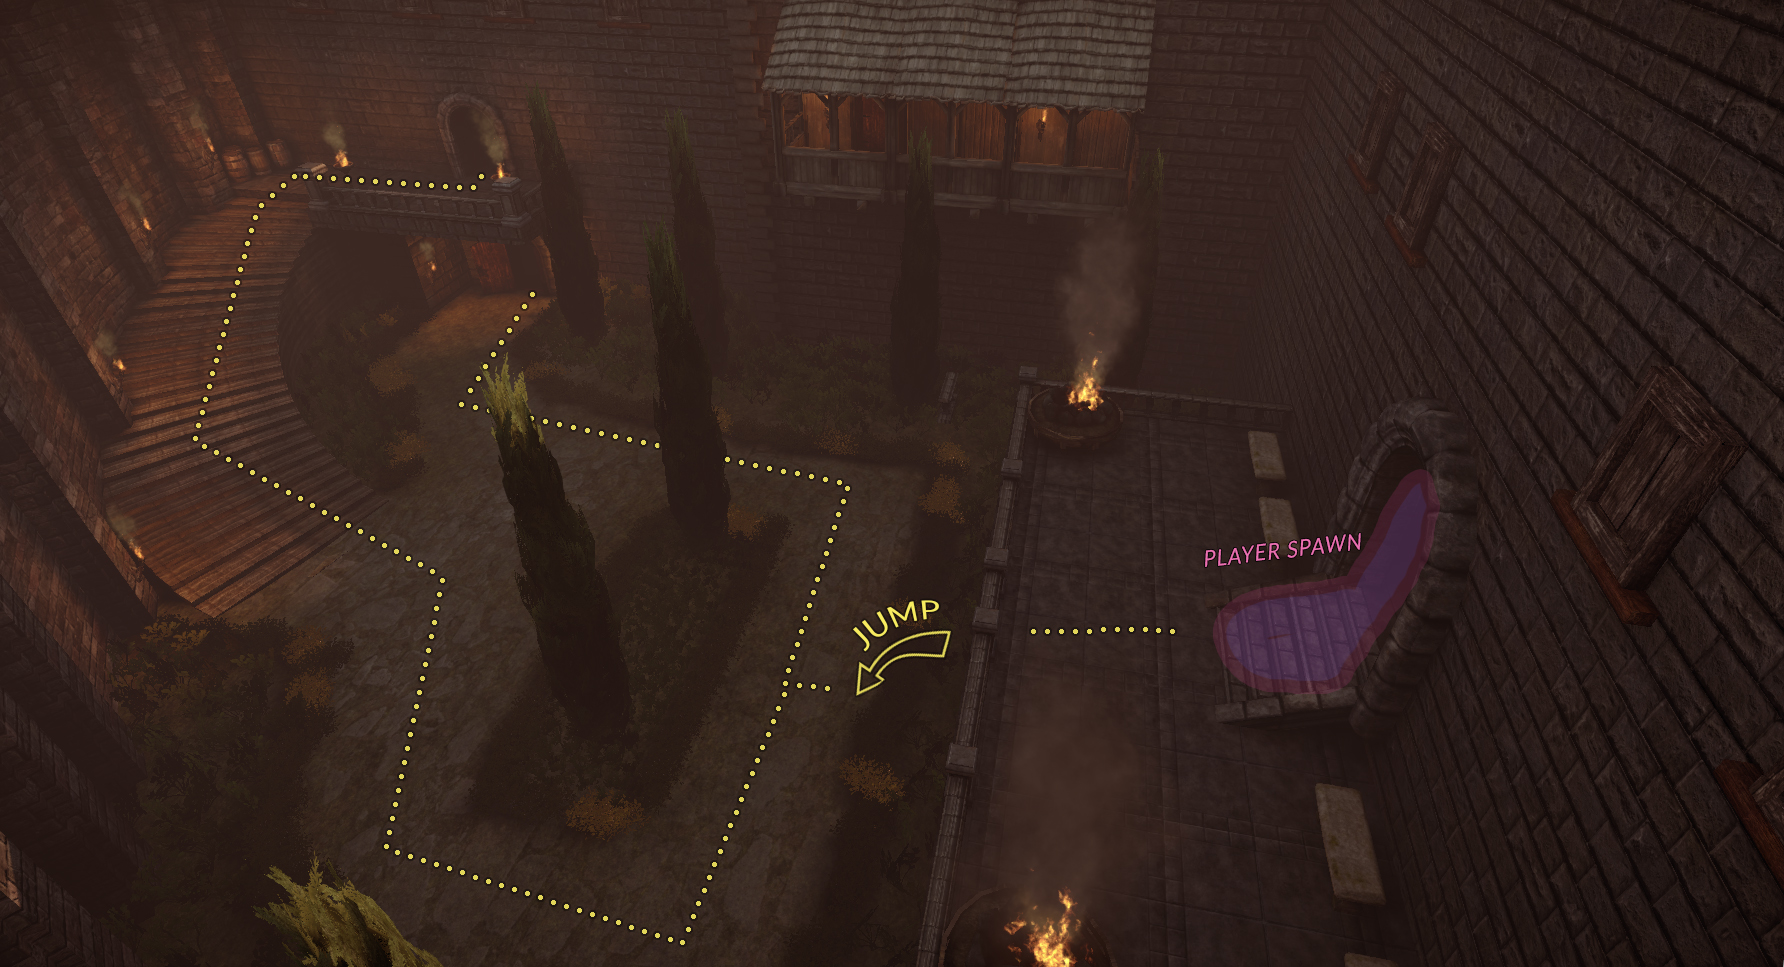
(Above) The two spawn areas from which the defending team randomly alternates in Objective 2 & 3.
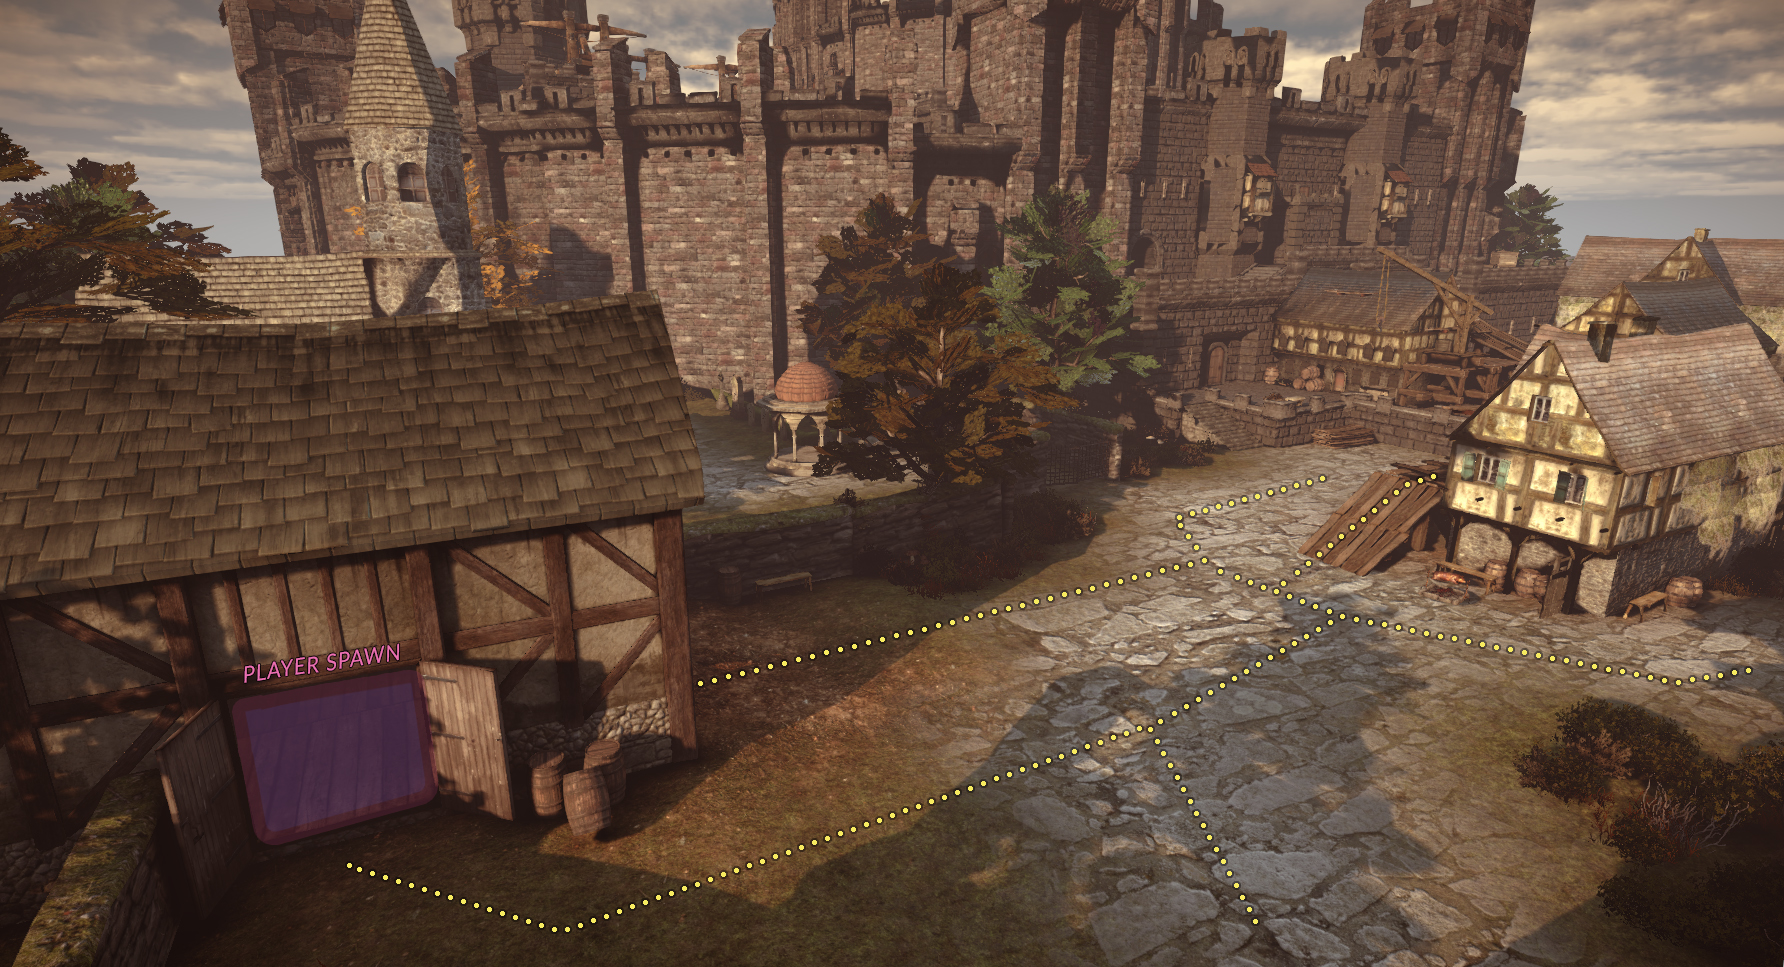
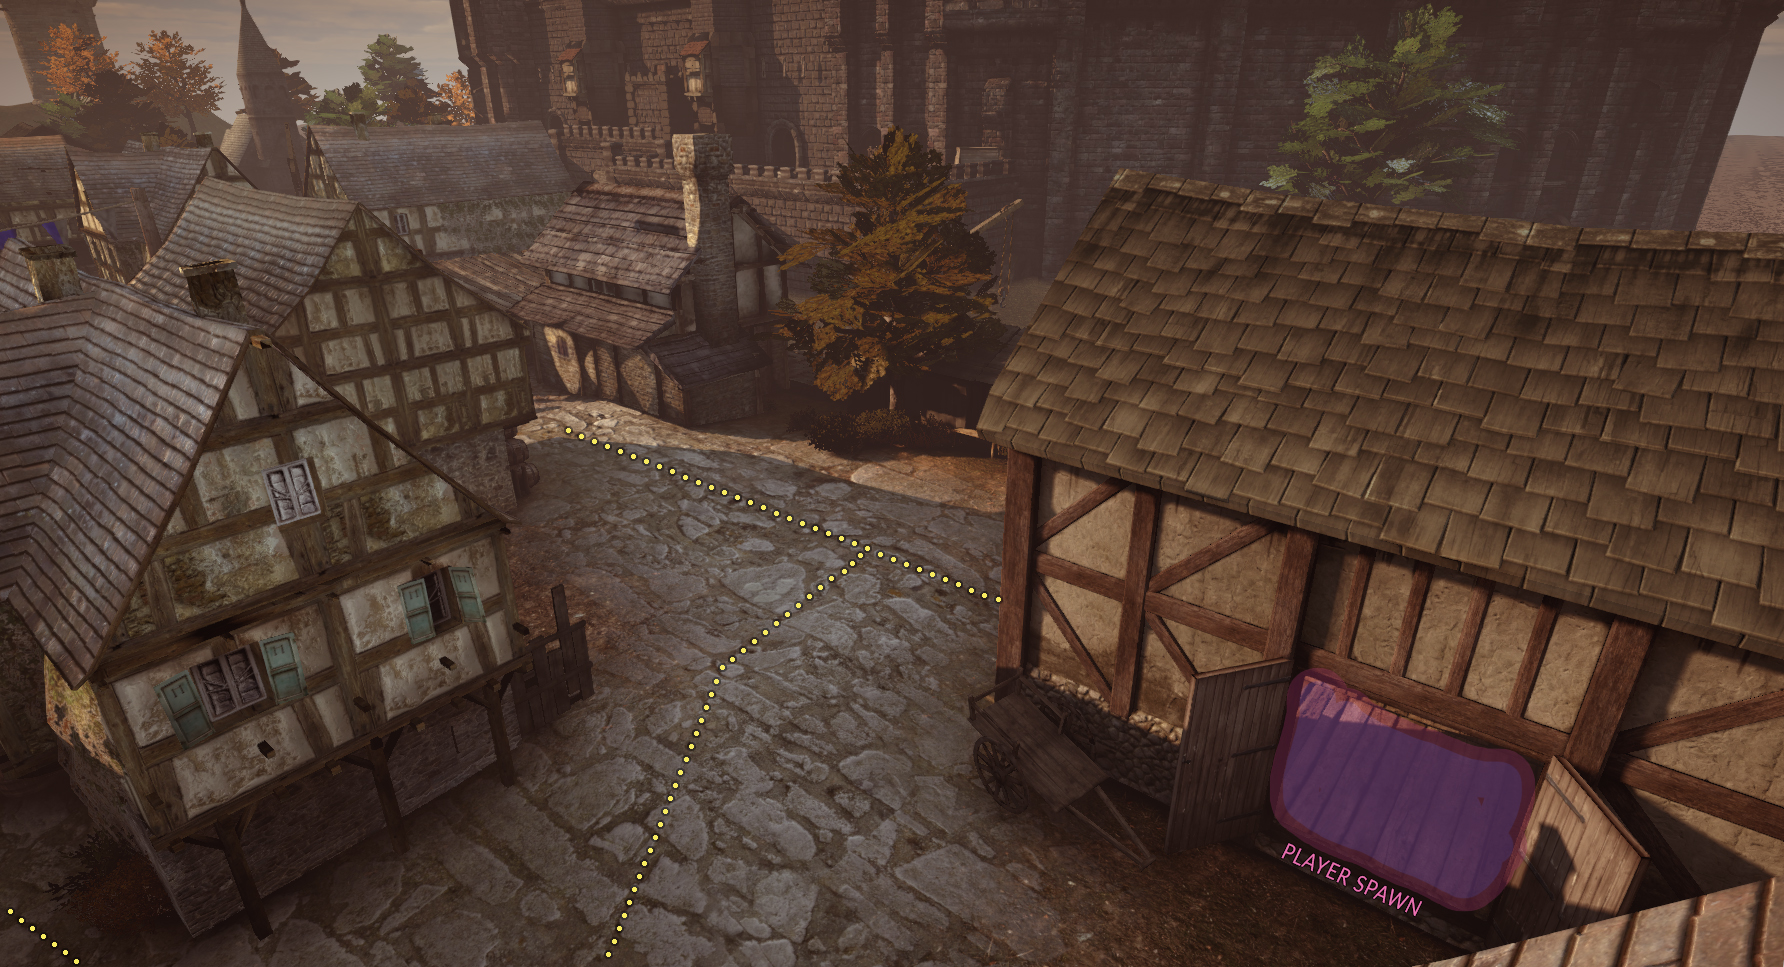
(Above) The two spawn areas from which the attacking team randomly alternates in Objective 2 & 3.
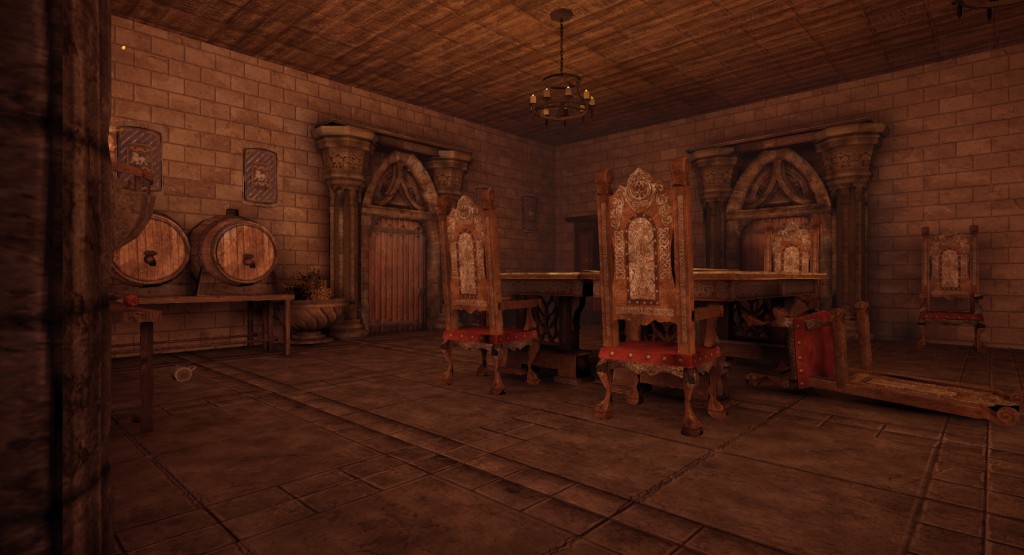
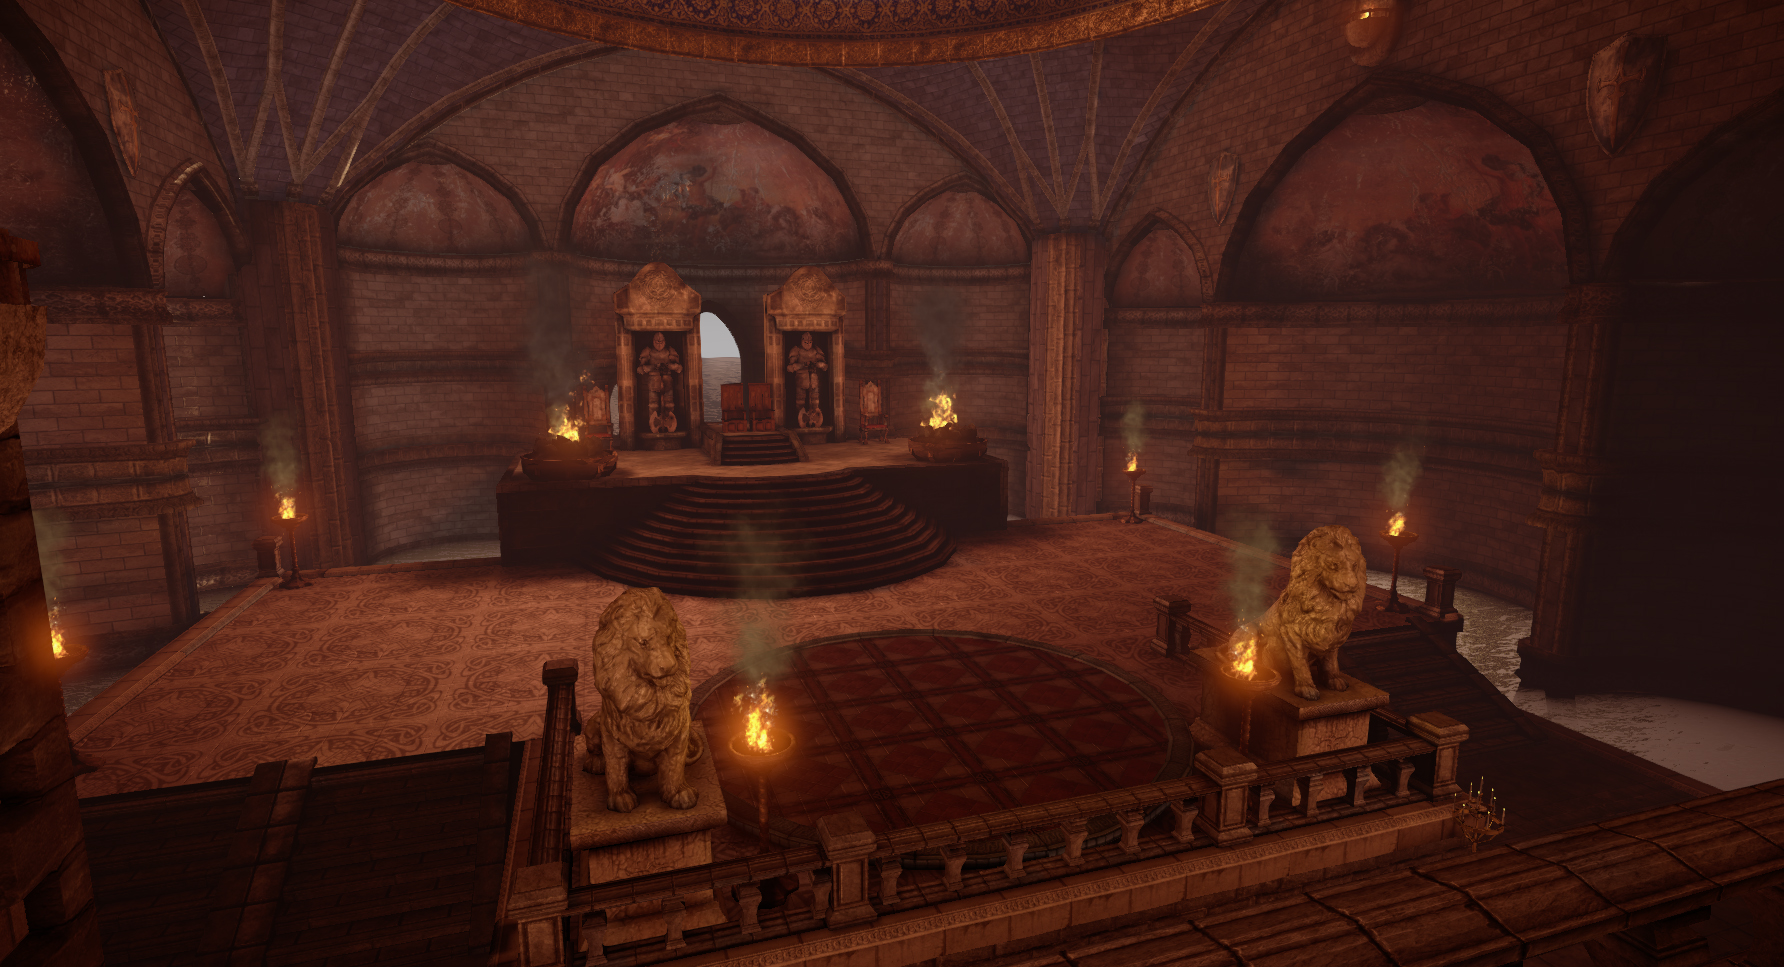
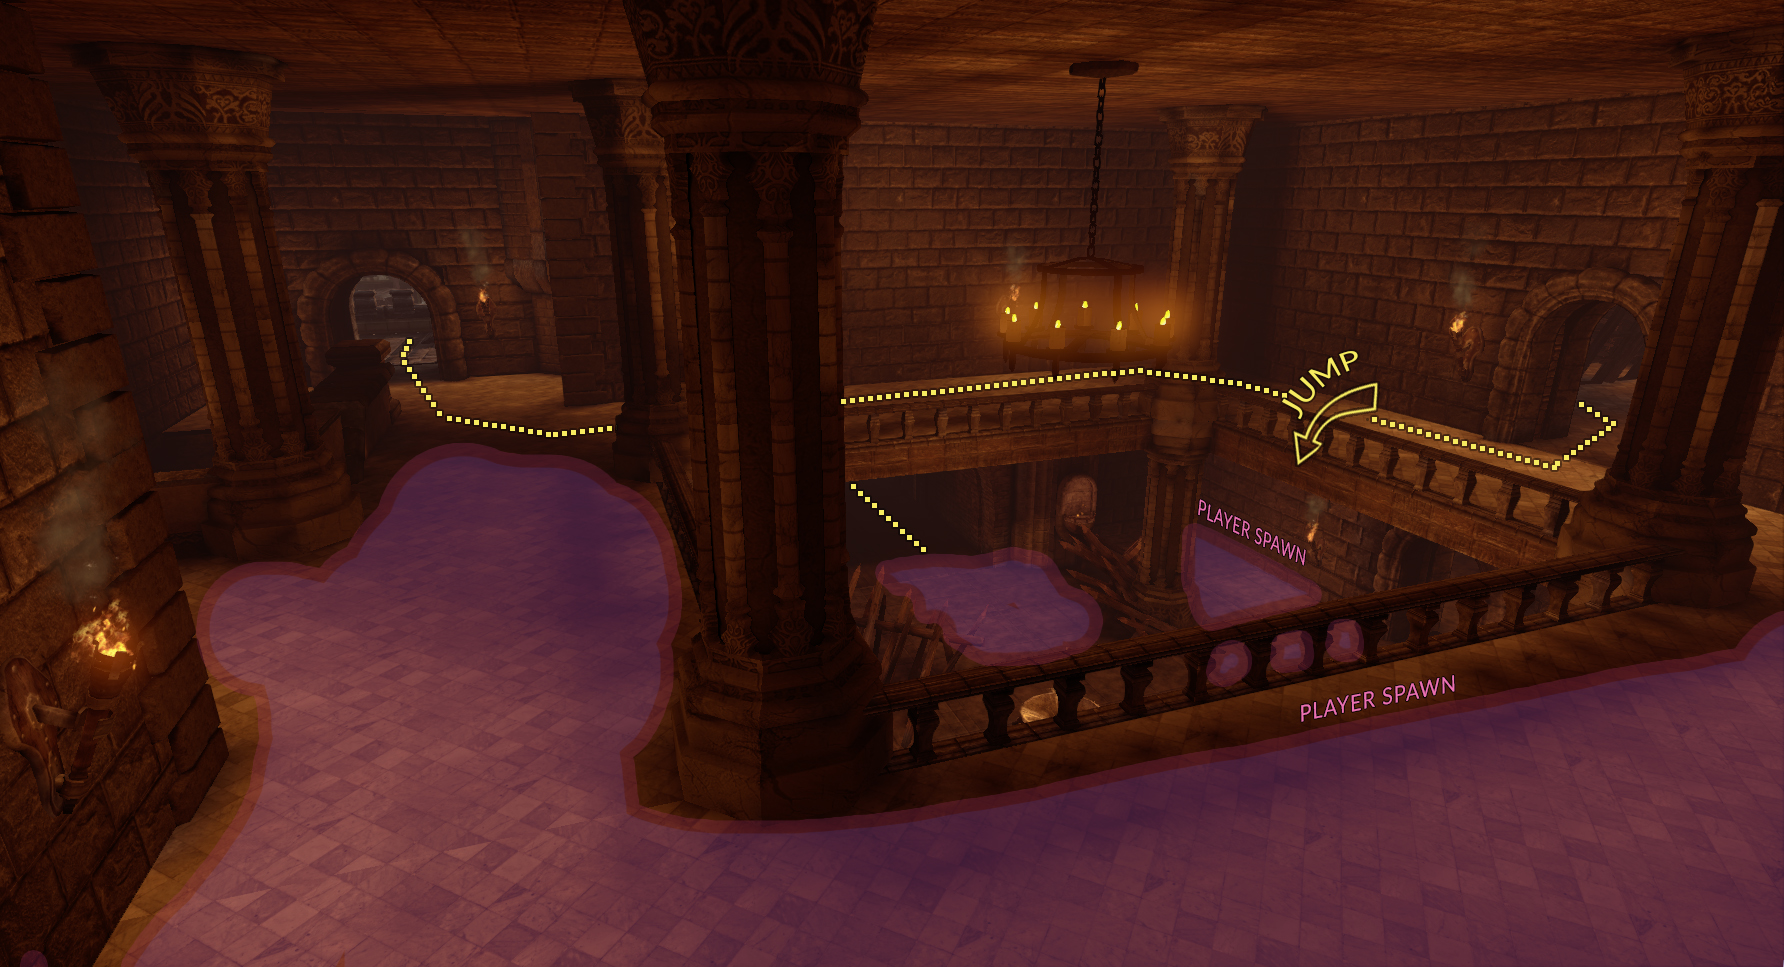
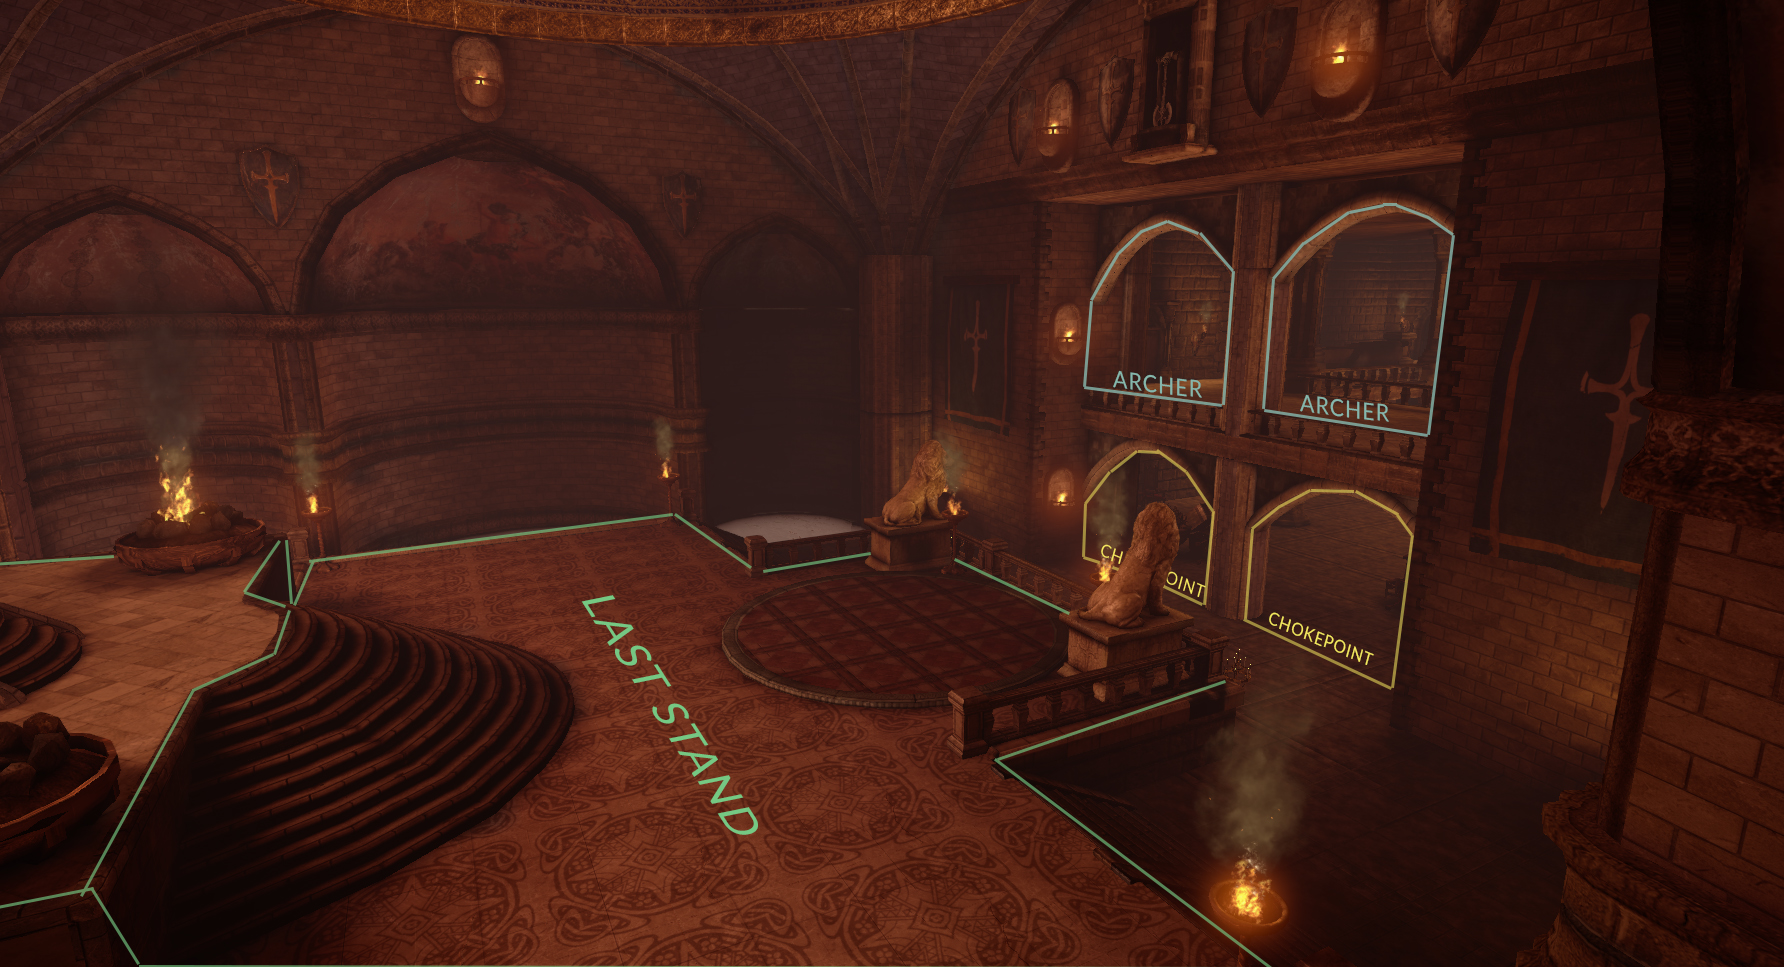
Objective 3: King Assassination
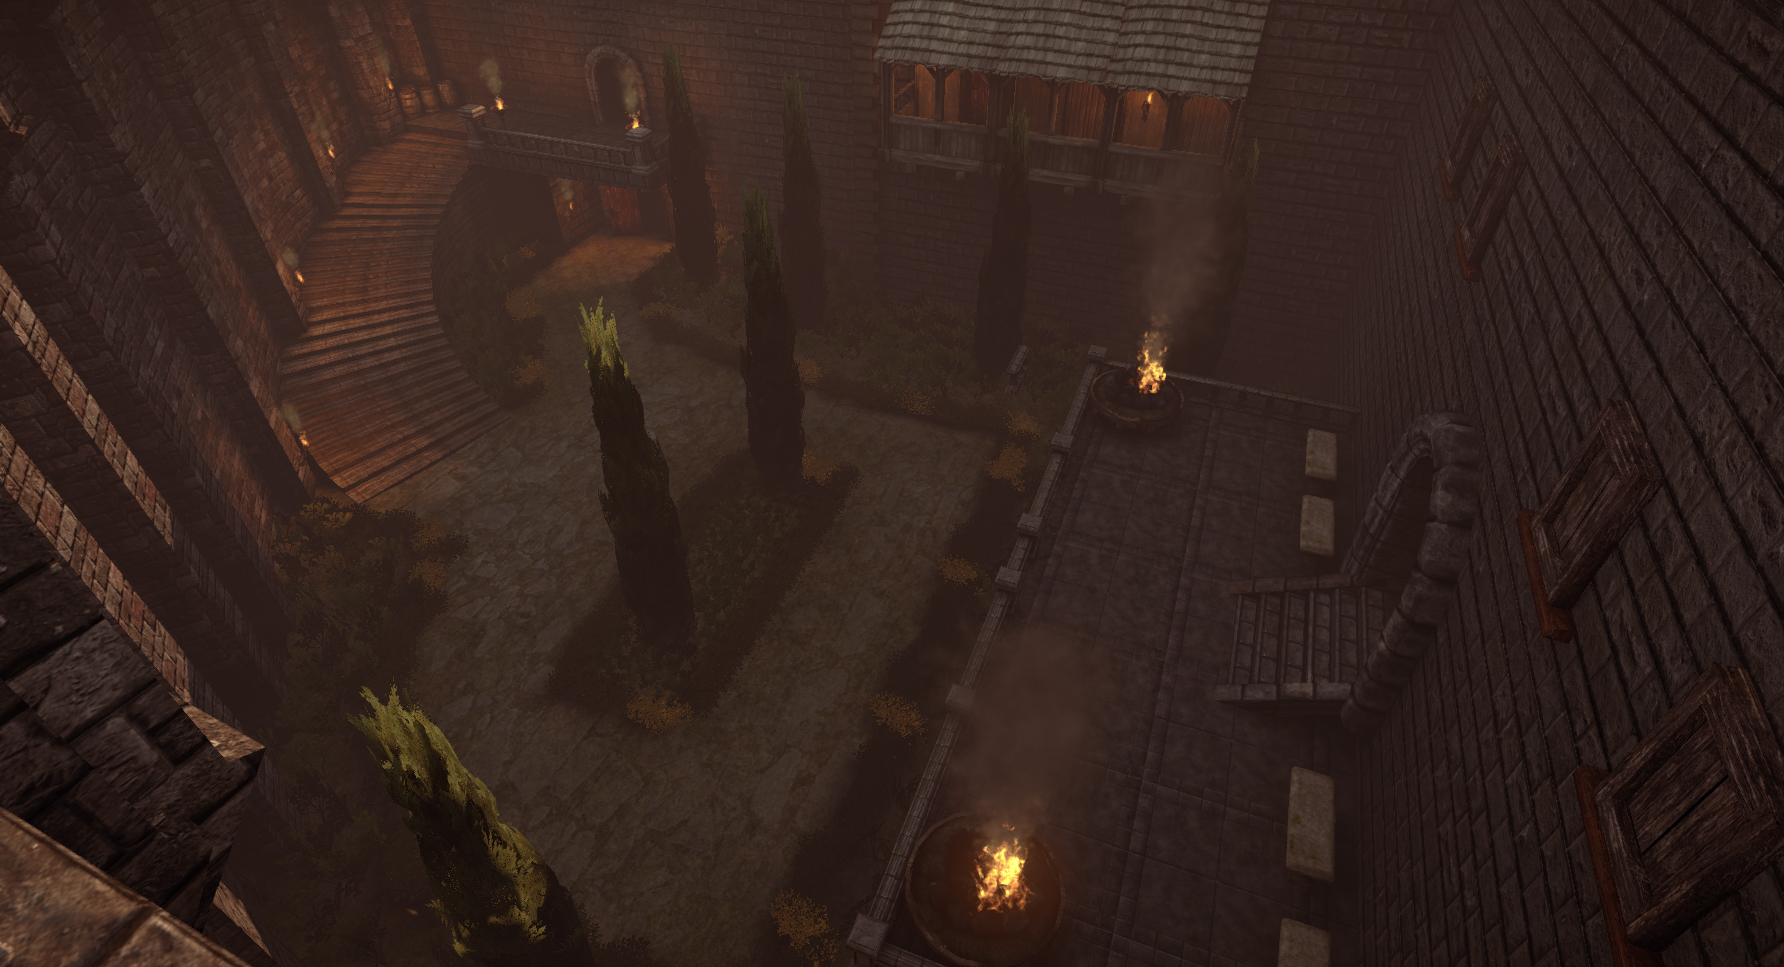
After the drawbridge has been lowered the third objetive is engaged. In these final moments the top player of the defending team is turned into ‘The King’ which acts like any other player character but with additional health points and some extra weapons at disposal. It is now the attacking teams goal to make a coordinated effort to break through the defenses and kill the king. There are multiple ways for the defending team to establish their defenses, either stick to the Throne Room seen in the picture below or stack up in the courtyard outside the drawbrige room alternatively in the other bigger courtyard next – moving the King to either of these places will allow reinforcements to spawn closer to the King but it will also mean that he is closer to the attacking team’s spawn points. There is also a possibility to take the King outside of the castle and defend him from anywhere else in the village but it’s a very risky move as all allied spawnpoints are much further away from the King than the enemy ones.
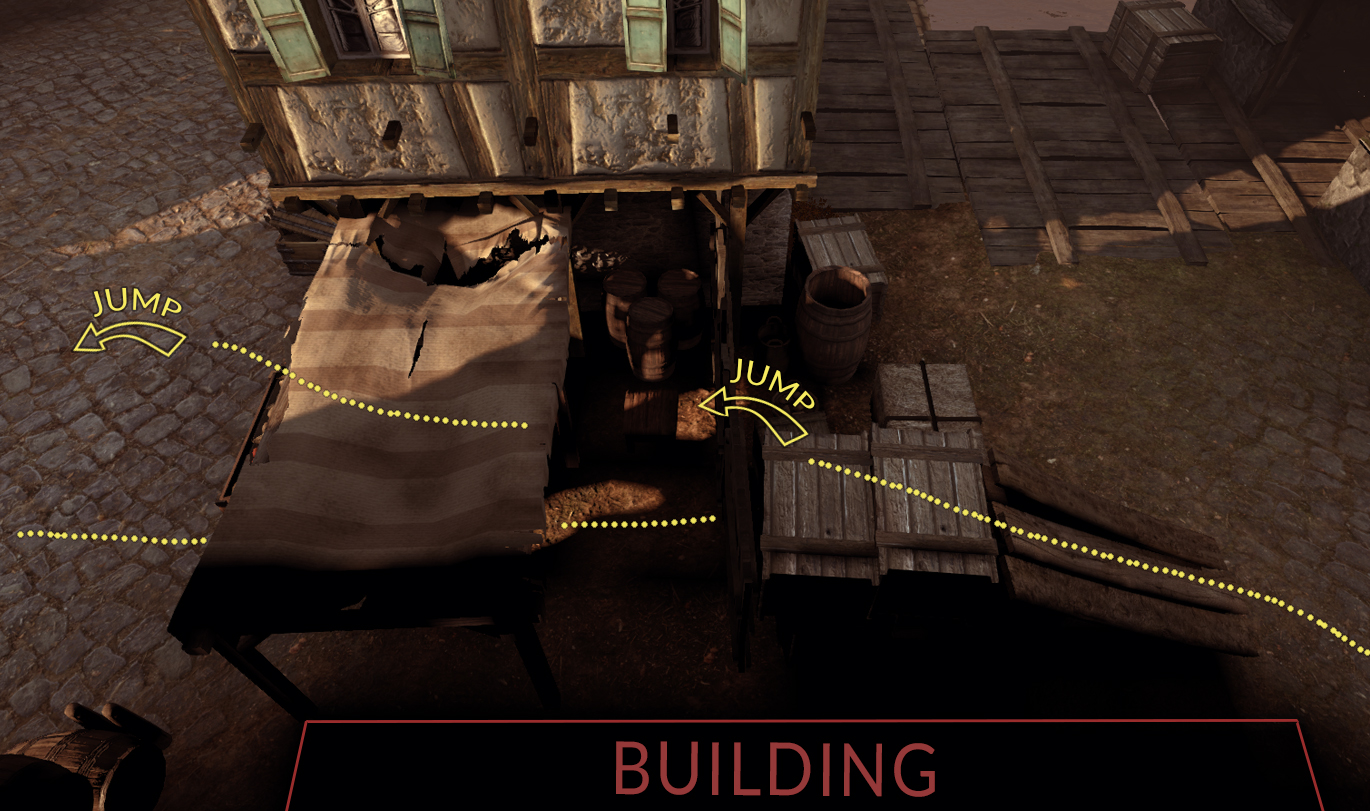
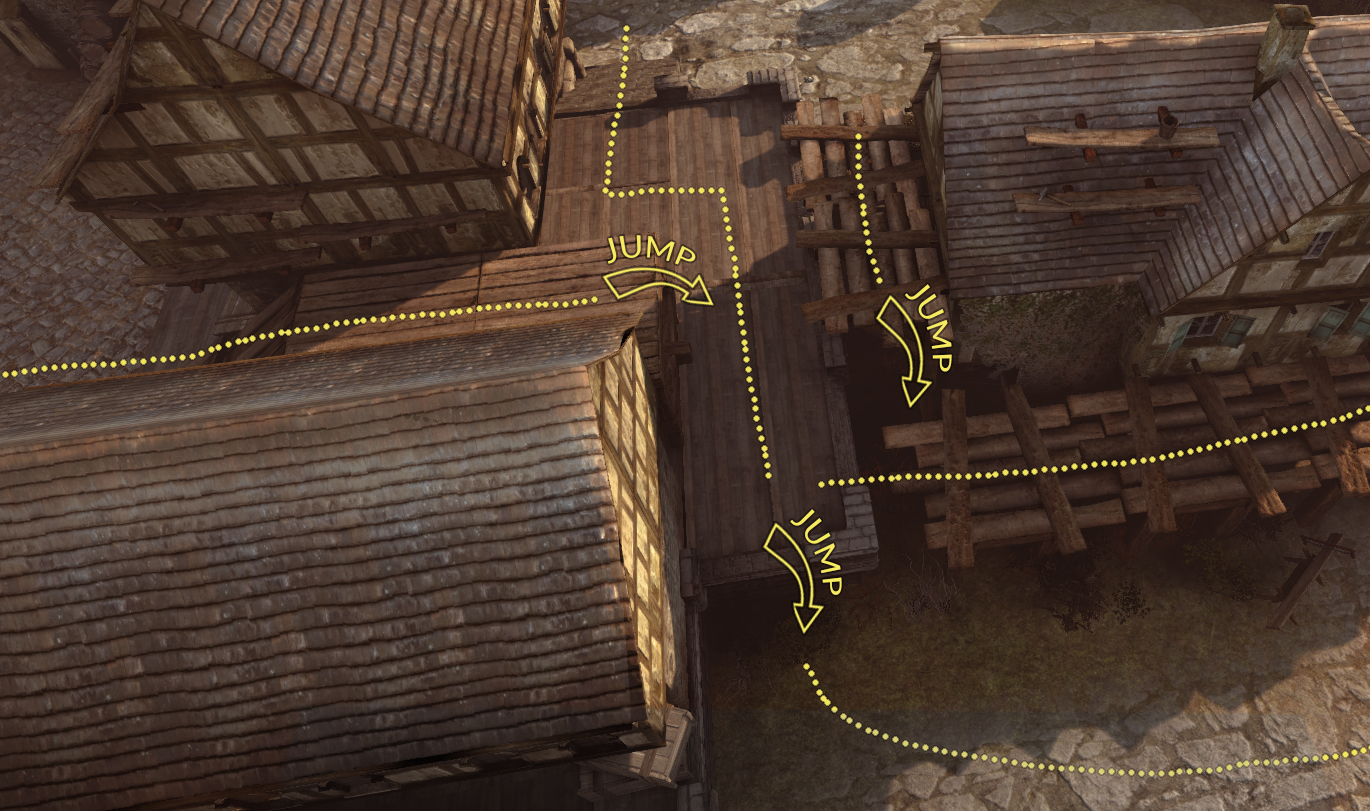
Bonus: One-way Shortcuts
During playtesting I noticed how the attacking team were able to move very quickly due to the short distance between the push carts. To adress this issue I added one-way shortcuts which requires players to make a commitment to the direction they’re moving in. If they’re going to take the quickest way to the other objective they can’t simply turn back but need to make a commitment to one direction.
Final Reflections
Finishing this map was quite a struggle for me, there were a few bits that were technically challenging for me but the biggest reason of them all was that testing the map properly in-game was quite a hassle; I had to get the map up on Steam workshop, re-rigg my router, setup a dedicated server, launch it, arrange a minor event for my friends and others in the Chivalry-community to join in and then play it and hope no class A-bugs appeared. That said, the turnaround time for testing the map was very long and I didn’t test the map as much as I wanted. As I value testing above everything else in map-making I have to say I’m not all that satisfied with how I developed it. The thought might have struck you ‘Aren’t there bots?’ and yes there are bots. In order to have bots working the gameplay logics and layout has to be quite solid before you can start placing all the different nodes and setting up Ai-weights properly. Not to make this a ‘forever-project’ I decided not to add bots support and just be done with it. If I would re-do this map or create an entirely new one I would make sure that the Ai-worked out from the get-go and build the map from there on. I learnt a great deal about mapping for Chivalry and there are a few layout changes my inner designer would like to change, but most likely there will probably be just another thing after that as well. I’m happy with the reusults and my vision was embodied quite like I wanted it to be – work complete!